Apple
How to Set Up the iPhone 6
If you received an iPhone 6 for Christmas from Santa, here’s how to set it up and get started with your new smartphone.
The iPhone 6 is one of the most popular smartphones on the market right now, so it makes perfect sense that Santa would gift a lot of them. However, if you’ve never owned an iPhone before, the setup process can be a little daunting, especially if you’re not sure what settings to turn on and off.
Fortunately, Apple makes it really easy to set up the iPhone 6, and the iOS Setup Assistant takes you through the steps necessary to begin using your iPhone 6 in no time.
If you bought the iPhone 6 in a carrier store or at the Apple Store, an employee most likely went through the setup process for you, but if you received the device in the mail, you’ll have to go through the setup process yourself and activate the iPhone 6 with your carrier over-the-air.
Don’t worry, though, as setting up the iPhone 6 and even activating it with your carrier is pretty easy and pretty much anyone can do it. Here’s how to set up your iPhone 6.
How to Set Up the iPhone 6
Setting up your iPhone 6 takes only a few minutes (a bit longer if you need to activate it with your carrier), so you should be able to begin using your iPhone 6 in no time from the time you open the box and take out the shiny new device.
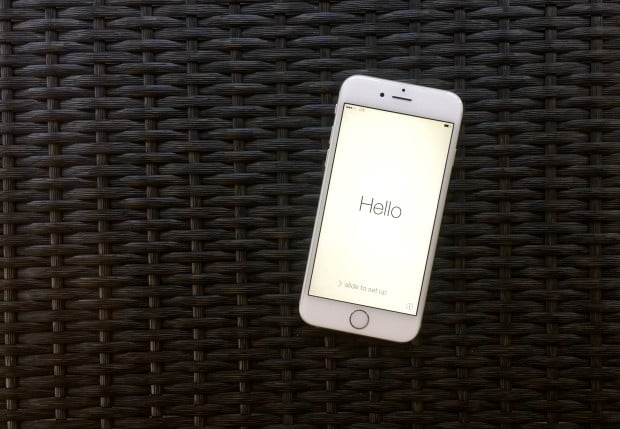
When you first see the iOS Setup Assistant, you’ll be greeted with “Hello” in different languages. From there, swipe on the screen to officially get started.
Choose Your Language and Country: Self explanatory.
Choose a Wi-Fi Network: Connecting to WiFi will make the setup process quicker. You can skip this and activate your iPhone over a cellular data connection, but using WiFi will be much quicker most of the time, depending on how fast your WiFi is.
Enable Location Services: Most apps use your location to enhance the experience, but it’s absolutely essential that certain apps know your location, such as navigation apps. You’ll want to enable Location Services in order to use these kinds of apps.
Set Up Your iPhone: This screen will have you pick one of three options. If this is your first iPhone ever, go ahead and select Set Up as New iPhone. Otherwise, if you previously owned an iPhone and have a backup of it, you can restore that backup to your new iPhone 6.
Apple ID: If you owned an iOS device previously, then you have an Apple ID account. Go ahead and log in when you get to this screen. If this is your first Apple device ever, you’ll want to create an Apple ID.
Terms and Conditions: Once you log in to your Apple ID or after you created one, you’ll need to agree to Apple’s Terms and Conditions by tapping on Agree in the lower-right corner of the screen.
At this point, the iPhone 6 will take a few moments to set up your Apple ID.
iCloud: You can either use or not use Apple’s iCloud. iCloud lets you sync certain iOS settings and information across iOS devices. You can also use iCloud to backup your settings wirelessly to the cloud. Using iCloud is your choice, but if you want Find My iPhone activated, you have to use iCloud.
Find My iPhone: If you do choose to use iCloud, the next screen will explain Find My iPhone and your iPhone 6 will activate the service by default. Just go ahead and tap Next.
iMessage and FaceTime: The next screen will set up iMessage and FaceTime, and you can choose what email addresses and numbers that you want associated with these services by tapping on them to check or uncheck them from the list.

Touch ID: This screen allows you to set up your iPhone 6’s Touch ID fingerprint sensor. This process takes a few minutes, depending on how many fingers you want to set up for it, so you can skip it and access it later in the settings if you wish. Otherwise, you can begin setting it up by placing your finger on the Touch ID home button to begin the Touch ID setup process.
iCloud Keychain: If you chose to use iCloud in previous steps, you’ll be asked whether or not you want to use iCloud Keychain, which can keep credit card info, passwords, etc. in sync across your various Apple devices.
Siri: If you want to use Apple’s voice-activated virtual assistant, this is where you can enable or disable it.

Diagnostics: Diagnostics and usage data consists of pretty much everything you do on your iPhone 6, and when enabled, it sends it all to Apple “anonymously” in an effort to improve the iOS experience, but we all know that’s kind of bologna. Enabling this feature gives Apple permission to track everything you do, so we’d recommend choosing Don’t Send.
App Analytics: This is similar to Diagnostics, and it allows app developers to log app crashes and other information about how you use their apps. Go ahead and select Don’t Share.
Display Zoom: This is where you can choose what kind of view you want on your iPhone 6. Standard is the standard view of iOS, while Zoomed essentially makes everything bigger on your screen, which is perfect for those with less-than-ideal eyesight.
After you’ve completed all of these steps, you can now access the home screen and get started using your new iPhone 6.