How to
How to Remove Programs in Windows 10
If you own a Windows 10 PC, you need to learn how to remove programs. It’s the easiest way to get a less crash-prone, well-performing notebook, desktop or tablet.
For the most part, programs are great. Installing them adds new features to your computer. iTunes, the software that you must download to get your music and pictures on your iPhone, is a program. Programs let you check email, sync stuff to a cloud storage service, stream TV shows and edit video.
Unfortunately, you pay a price for each program that you install. You can put as many apps as you want on your iPhone without ruining your device’s performance. Windows programs don’t work that way. Spotify, for example, starts the moment you turn on your Windows 10 PC. iTunes, Photoshop Elements and Steam all require a process that stays in your PCs memory when you aren’t using them.

Here’s how to remove programs in Windows 10.
Read: What’s New Windows 10 Creators Update
You should remove programs that you don’t need to keep your Windows 10 notebook, desktop or tablet running smoothly. Here’s how.
Before you go removing programs on your Windows 10 PC, you need a list of every program that you’ve added to it. Normally, you’d open the Settings app to get a list of everything installed on your PC. Instead, go to the old Control Panel for a complete breakdown of just your programs.
Read: How to Uninstall Apps & Games in Windows 10 from the Windows Store
Press the Windows key on your keyboard or click the Start button in the bottom-left corner of your screen.

With the Start Screen open, type Control Panel.

Click on Control Panel in the pop-up menu.

Inside the Control Panel, click on the search bar in the top-right corner. Type Add or Remove Programs and hit Enter.
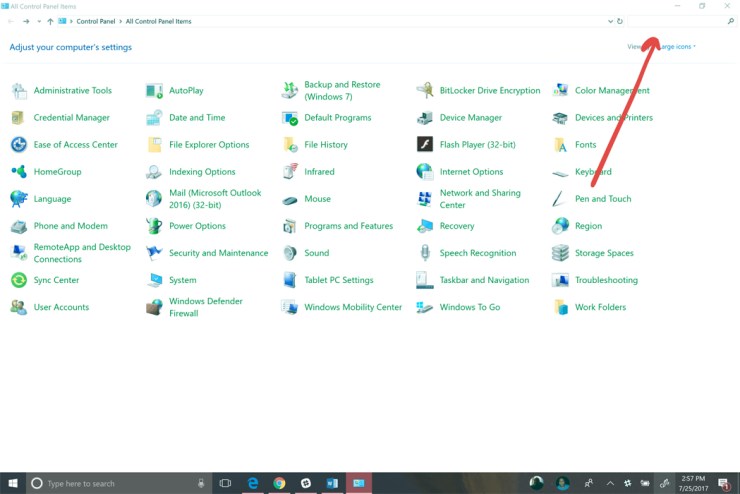
Click on Add or Remove Programs.

Now, use this list to remove programs in Windows 10. Clicking on a program in the list reveals a Remove button above the list. Most apps will ask you to confirm that you mean to remove them in a pop-up window, so expect that.

Tips for Removing Programs in Windows 10
Now that you know how to remove programs in Windows 10, here are some tips to keep in mind.
First, don’t use the Uninstall Updates option to remove any updates. Doing so is a waste of time because Windows 10 downloads updates on its own. In fact, most versions of Windows 10 don’t allow you to turn off updates completely. You can only pause them for a week.
Also, if you share a PC with other people, don’t uninstall programs unless everyone has a separate account. Removing a program would delete access to it for everyone. This is one of the main reasons creating Windows 10 user accounts for everyone is a great idea.
Focus on removing the programs that you installed on your PC and never use. These programs could increase your PC’s start up time and performance. It’s not worth leaving these apps on your PC in the hopes that you may use them again because they can also hog precious storage on your PC.

As you uninstall programs, be mindful of which programs you paid for and which you purchased. Think twice before removing any program on your PC if it’s not free or you don’t have the install disc. For example, Microsoft Office Home & Student costs $149.99 if you need to replace it after removing it from your PC.
Don’t get nervous about removing programs that you downloaded from the internet for free. You can easily install them again from the site you downloaded them from.
Expect your PC to ask you to restart after you remove some programs. In fact, you should restart your PC after you’re done removing programs even if you aren’t asked.